Embarking on the art of beading can open a world of self-expression and creativity, especially when it comes to making personalized beaded bracelets. This beginner-friendly guide will walk you through the essential steps to create your own unique, stylish, and meaningful accessories.
1. Gathering Materials:
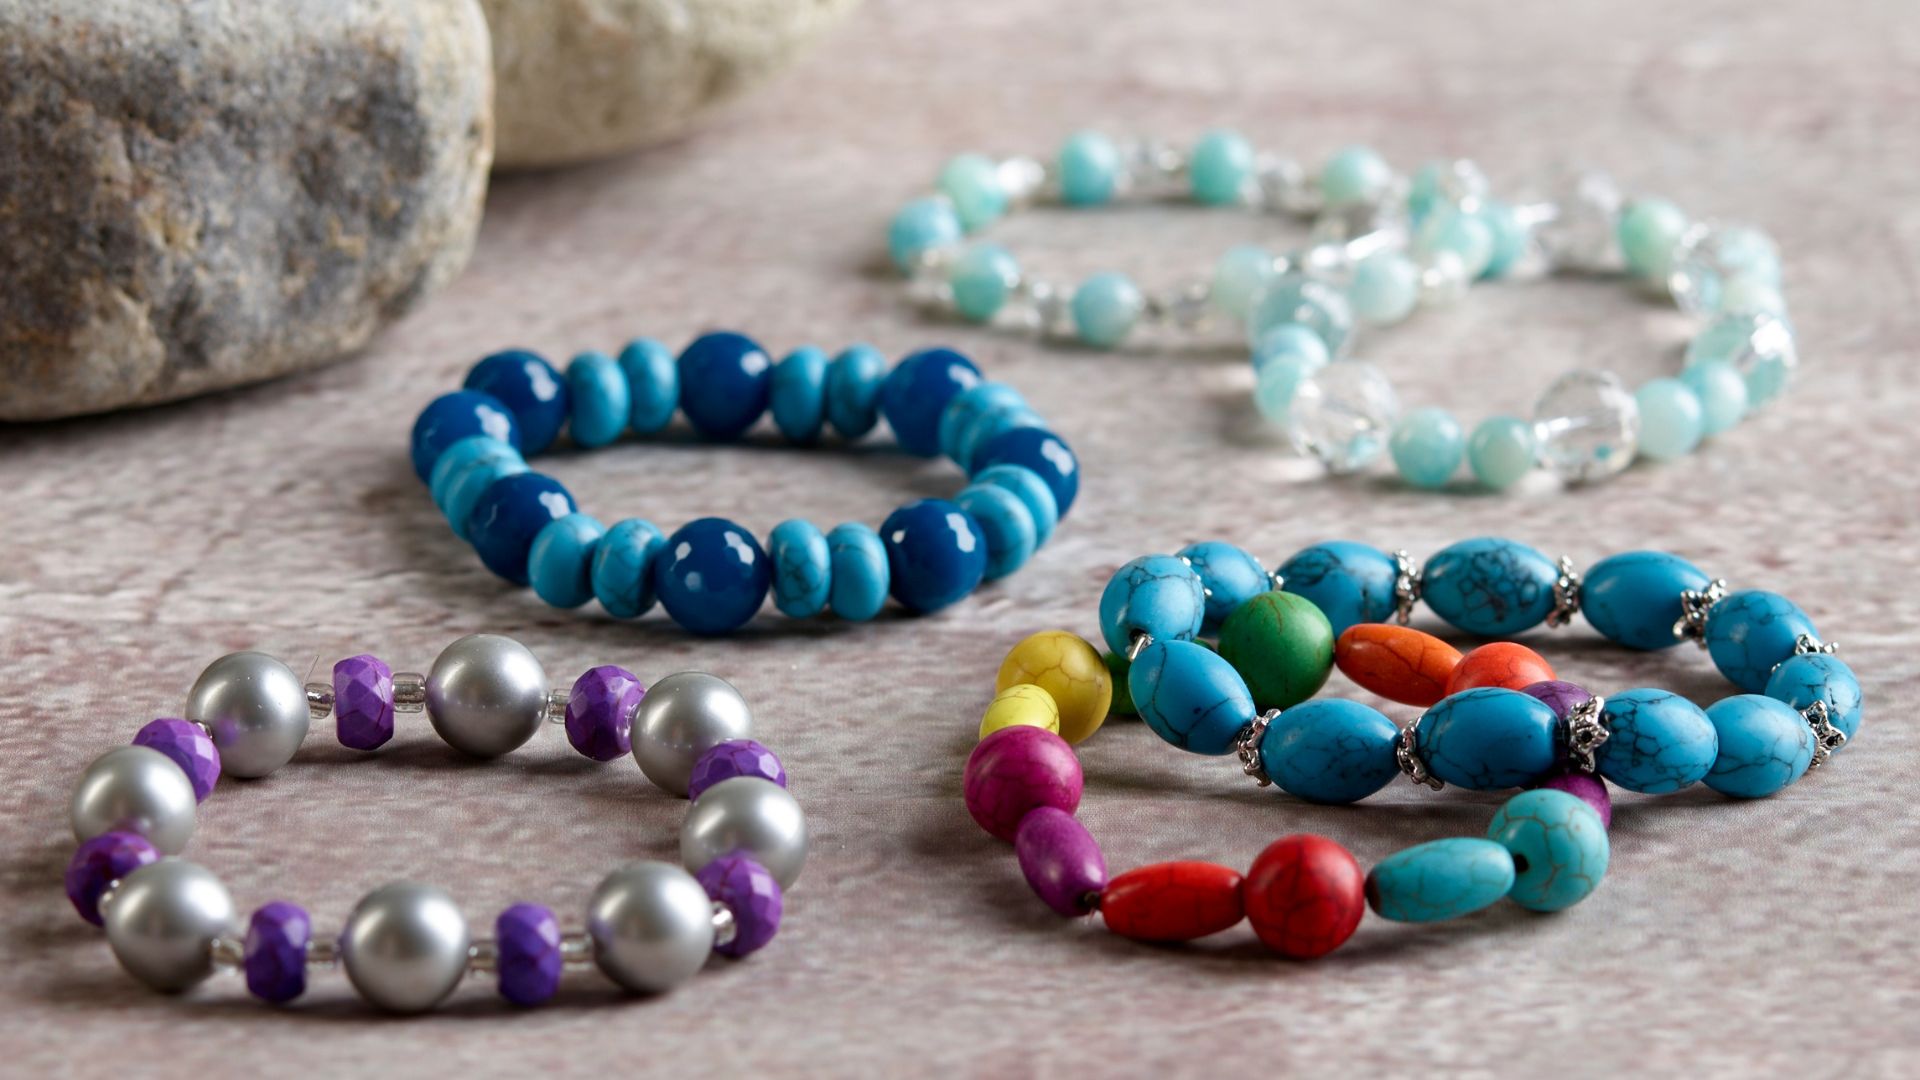
Begin by collecting an array of beads that resonate with your style. You’ll need beads in various sizes, shapes, colors, and materials – think glass beads for their transparency and shine, gemstones for their natural allure, or wooden beads for a rustic touch. Don’t forget about clasps, elastic cords, or wire depending on your preferred bracelet closure method.
2. Choosing Tools:
Basic tools include bead needles, pliers (for crimping and cutting), and measuring tape. If you’re using string or elastic cord, a threading needle will come in handy. For wire-based bracelets, round-nose and chain-nose pliers are necessary.
3. Design & Planning:
Sketch out your design idea, deciding on color schemes, patterns, and any charm or pendant additions. Consider the size of your wrist or the person you’re creating for, allowing extra length for comfortable wear and easy fastening.
4. Stringing the Beads:
Start stringing your beads onto your chosen material. You might choose a random pattern, follow a specific color gradient, or create a symmetrical design. Keep in mind that larger/heavier beads should generally be placed near the clasp to ensure balance.
5. Adding Charms & Clasps:
Once your desired beading sequence is complete, attach a jump ring to one end of the bracelet, then add your chosen clasp. For elastic cord bracelets, knot securely several times and apply a drop of glue to secure the knot before hiding it inside a crimp bead or a larger seed bead.
6. Finishing Touches:
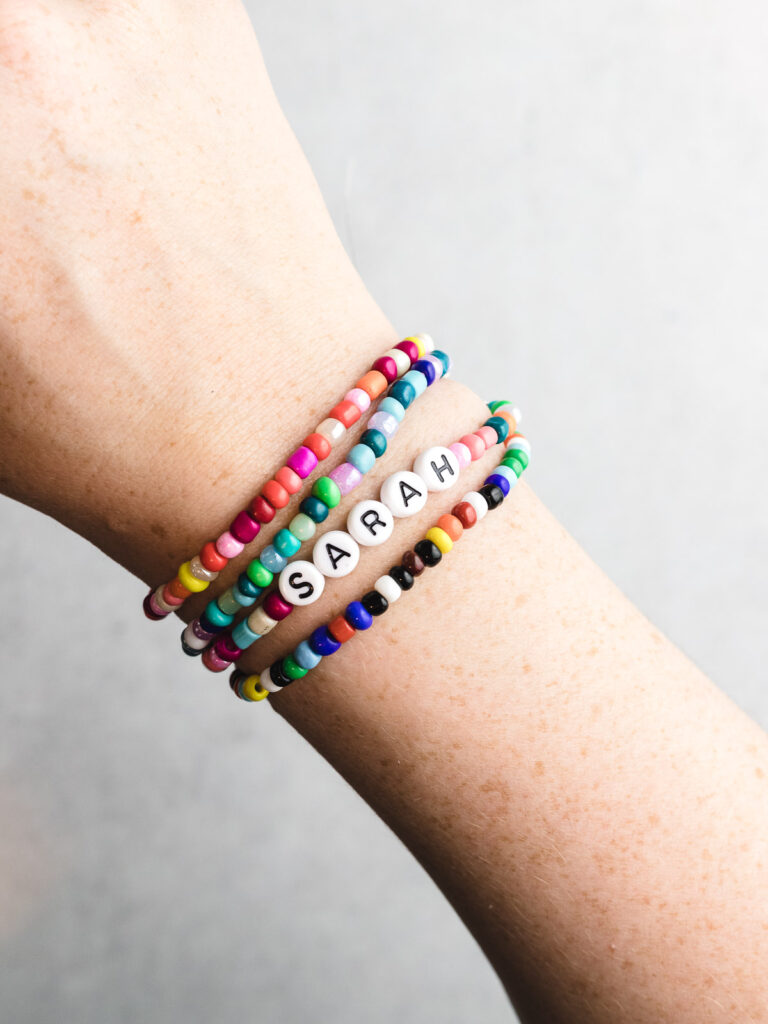
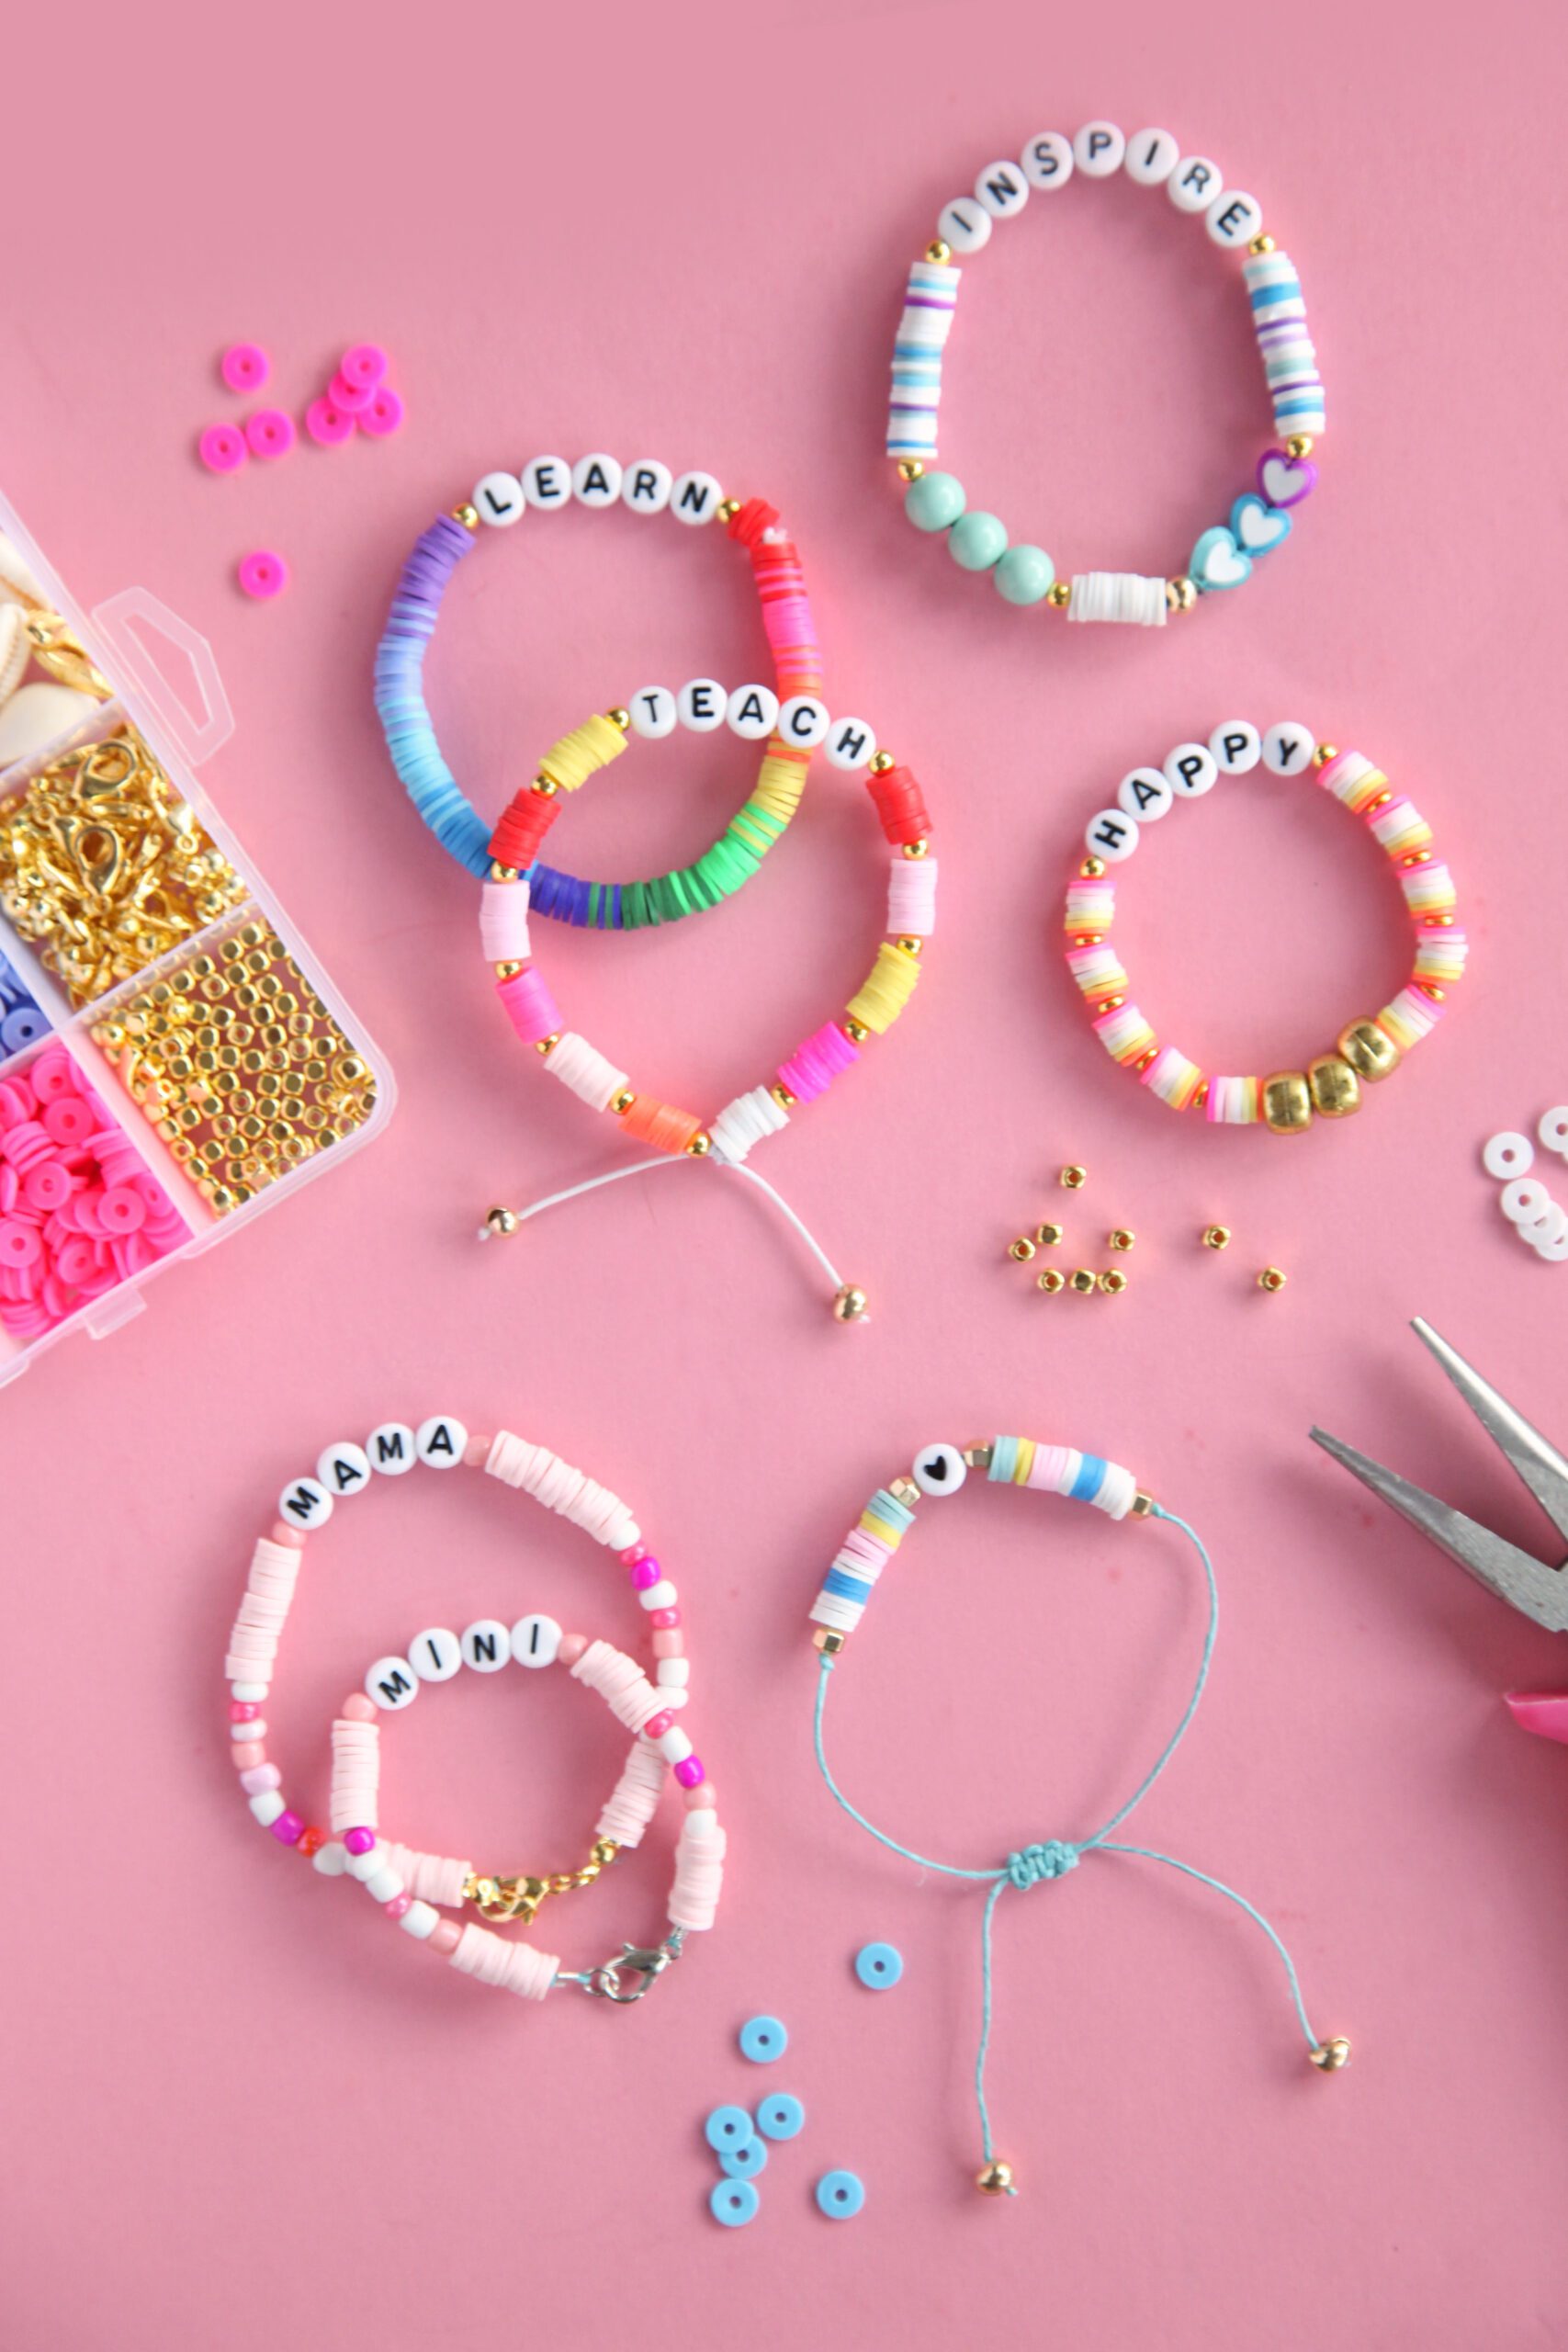
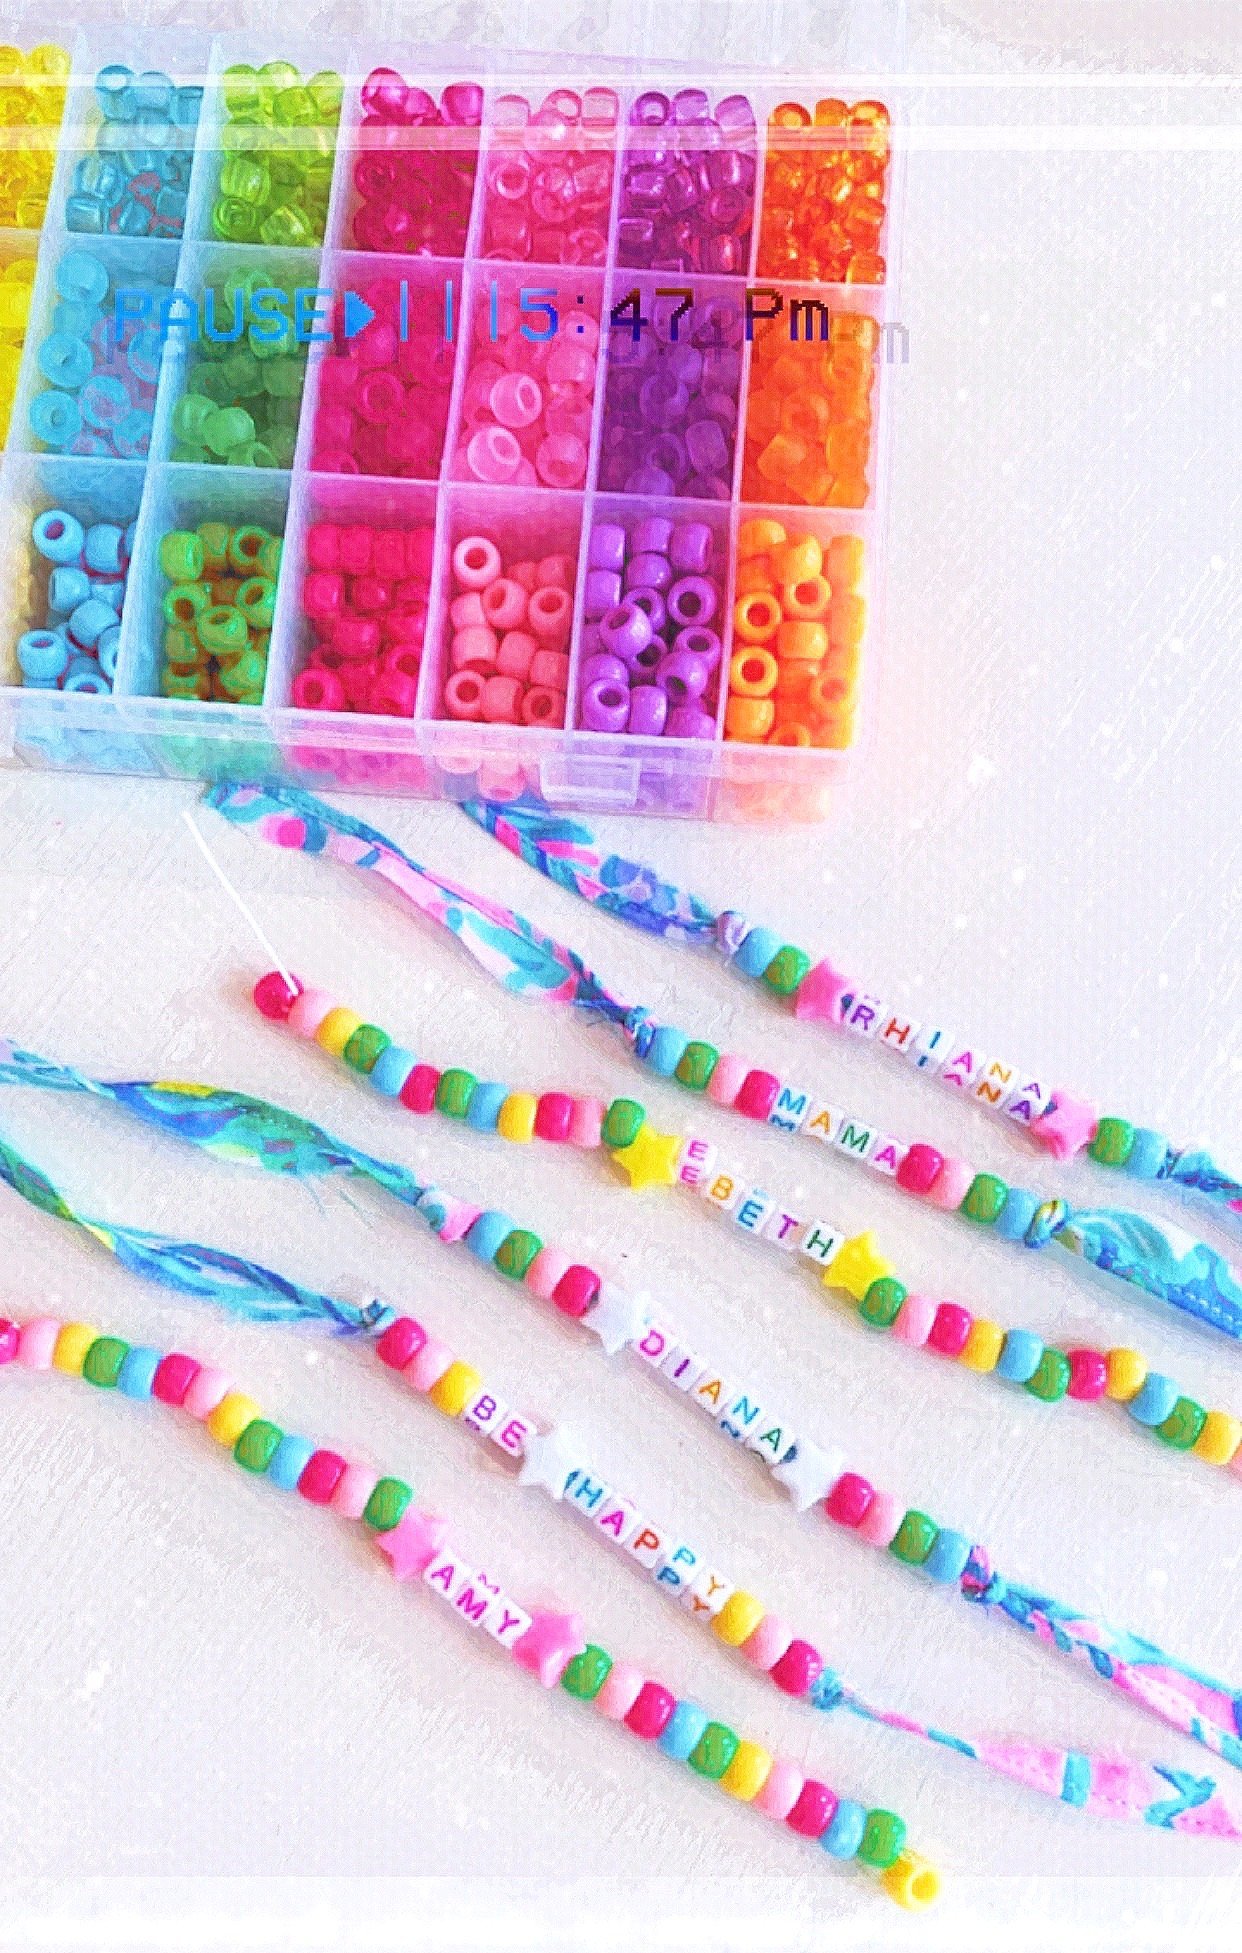
Double-check your work for stability and comfort. Ensure all knots are tight and clasps are secure. Personalize further by adding initials, birthstones, or symbols that hold personal significance.
7. Practice and Experimentation:
Remember, crafting beaded bracelets is not just about following rules but also about experimenting. Play around with different textures, mix metals with beads, or try macramé techniques for a bohemian flair. Each piece is a reflection of your personality, so don’t hesitate to innovate and evolve your designs.
8. Patience and Persistence:
Beadwork requires patience and precision. It may take time to master certain techniques, but the joy lies in the process as much as the finished product. Embrace the journey and enjoy every step of creation.
In conclusion
Crafting your own personalized beaded bracelets is an excellent way to tap into your creative side while producing fashionable and sentimental jewelry pieces. With practice, you’ll soon be able to create stunning bracelets that are not only beautiful adornments but also treasured keepsakes imbued with your unique story and spirit. So go ahead, unleash your creativity and embark on this delightful journey of making your own bespoke beaded bracelets!
Creating unique beaded bracelets is a journey that combines artistic expression with intricate craftsmanship. Whether you’re a beginner exploring the world of jewelry making or an experienced artisan seeking fresh inspiration, mastering the art of beading opens up a universe of possibilities for designing personalized, stylish pieces.
Essential Tools and Materials:
Begin by familiarizing yourself with the basics – from the myriad types of beads (including glass, semi-precious stones, pearls, and seed beads) to the essential tools such as pliers, cutters, crimping tools, and beading needles or threads. Understanding the properties and uses of each will lay the groundwork for successful beading projects.
Technique Mastery:
Learn and practice fundamental beading techniques such as stringing, weaving, looming, and knotting. Stringing involves threading beads onto wire, cord, or elastic; while weaving includes complex patterns like peyote stitch, right-angle weave, or herringbone. Each technique offers distinct looks and can be combined in innovative ways.
Design Fundamentals:
Design theory applies to beading too. Understand color theory to create harmonious or contrasting palettes, experiment with scale and proportion, and explore the impact of negative space. The choice of clasp, findings, and embellishments also contributes significantly to the overall design.
Project Tutorials:
Follow step-by-step tutorials for creating various bracelet styles, from simple strung bracelets to elaborate bead embroidery cuffs. Online platforms offer a wealth of video tutorials and written guides, often featuring expert advice on customizing designs and troubleshooting common issues.
Innovative Approaches:
Explore modern trends and techniques such as micro-macramé, bead crochet, and wire wrapping to incorporate into your bracelet designs. These methods can elevate a basic bracelet into a stunning, one-of-a-kind wearable piece of art.
Personalization and Storytelling:
Make your bracelets truly unique by incorporating personal elements like charms that hold special meaning, or using birthstones and other symbolic materials. This adds emotional depth to your creations, turning them into cherished keepsakes.
Mastering the art of beading requires patience, practice, and creativity. As you delve deeper into this craft, you’ll discover that every bracelet is not just an accessory but a reflection of your skill, vision, and artistic spirit.
Unleash your creativity and add a personal touch to your accessory collection by learning how to make beaded bracelets right from the comfort of your home! This step-by-step guide will take you through the entire process, transforming beads into beautiful, wearable art pieces. Whether you’re new to jewelry making or an experienced crafter, this workshop-style tutorial offers everything you need to create stunning beaded bracelets that reflect your unique style.
Gather Materials
- Beads: Choose a variety of glass, stone, wooden, or plastic beads in different shapes, sizes, and colors to match your design.
- Stringing Material: Elastic cord, nylon thread, or wire depending on the weight of the beads and desired bracelet flexibility.
- Clasps: Lobster clasps, magnetic clasps, or toggle clasps are common choices for securing the bracelet.
- Tools: Needle-nose pliers, scissors, crimp beads (if using wire), and a ruler or measuring tape.
Measure & Plan Your Design
- Measure your wrist accurately to ensure a comfortable fit. Add about 0.5 to 1 inch extra to allow for movement and the clasp.
- Plan your pattern by laying out the beads in the sequence you want them strung. You can mix patterns, colors, or use spacer beads for a more intricate design.
Stringing the Beads
- Cut your chosen stringing material to the desired length plus a few inches for attaching the clasp.
- If using elastic cord, tie a strong knot at one end before threading the beads.
- For wire, thread a crimp bead followed by a clasp onto the wire and secure with pliers.
- Start adding beads following your planned design, leaving enough space at the end for another clasp.
Finishing the Bracelet
- After threading all the beads, attach the other side of the clasp. With elastic cord, tie multiple knots close to the beads and apply a drop of clear nail polish or glue to secure it. For wire, thread another crimp bead, then the clasp, and flatten the crimp bead with pliers to hold it in place.
- Trim any excess stringing material close to the crimp beads or knots, but not so close that they might come undone.
Final Touches & Inspection
- Inspect your bracelet for stability and aesthetics. Make sure the clasps are secure and the beads are evenly spaced.
- Optionally, you could add charms or pendants between the beads for added flair.
Wear your handmade beaded bracelet with pride, knowing that it’s a one-of-a-kind piece crafted by your own hands. Don’t forget to share your creations with friends and family – you might even inspire others to join you in this creative journey!
 In conclusion, crafting beaded bracelets at home is a fun and rewarding experience that allows you to express your individuality while honing your jewelry-making skills. It’s a wonderful way to create personalized gifts, start a new hobby, or simply treat yourself to something special made with your own hands. Happy crafting!