If you’re looking to add a little edge to your wardrobe, a studded belt is the perfect accessory. You can buy one at a store, but it’s much more fun to make your own! Plus, making your own studded belt allows you to customize it to your liking and save a few bucks in the process.
Materials Needed:
- Leather or faux-leather belt
- Studded embellishments
- Epoxy glue or a hot glue gun
- Scissors
- Pen or chalk
Step 1: Measure and Cut the Belt Strap
Measure the length of your current belt or use a tape measure to determine the length needed for your new belt. Add a few extra inches to allow for overlap and to provide room for the studs or spikes. You can also use an existing belt as a template for sizing.
Using the permanent marker or chalk, mark the desired length on the leather or faux leather strap. Using the pliers, carefully cut along the marked line to create the desired length. Make sure to cut the end of the belt into a point for a clean finish.
Step 2: Choose Your Belt
Before you can start studding, you need to choose the right belt. Look for a solid leather or faux-leather belt that’s at least 1 1/2 inches wide. A wider belt will give you more space to add studs and make a bigger impact.
Step 3: Mark the Belt
Lay your belt flat on a table and measure the length of the area where you want to add studs. Use a pen or chalk to mark where you want to place your studs. You can create a pattern or spacing that matches your personal style.
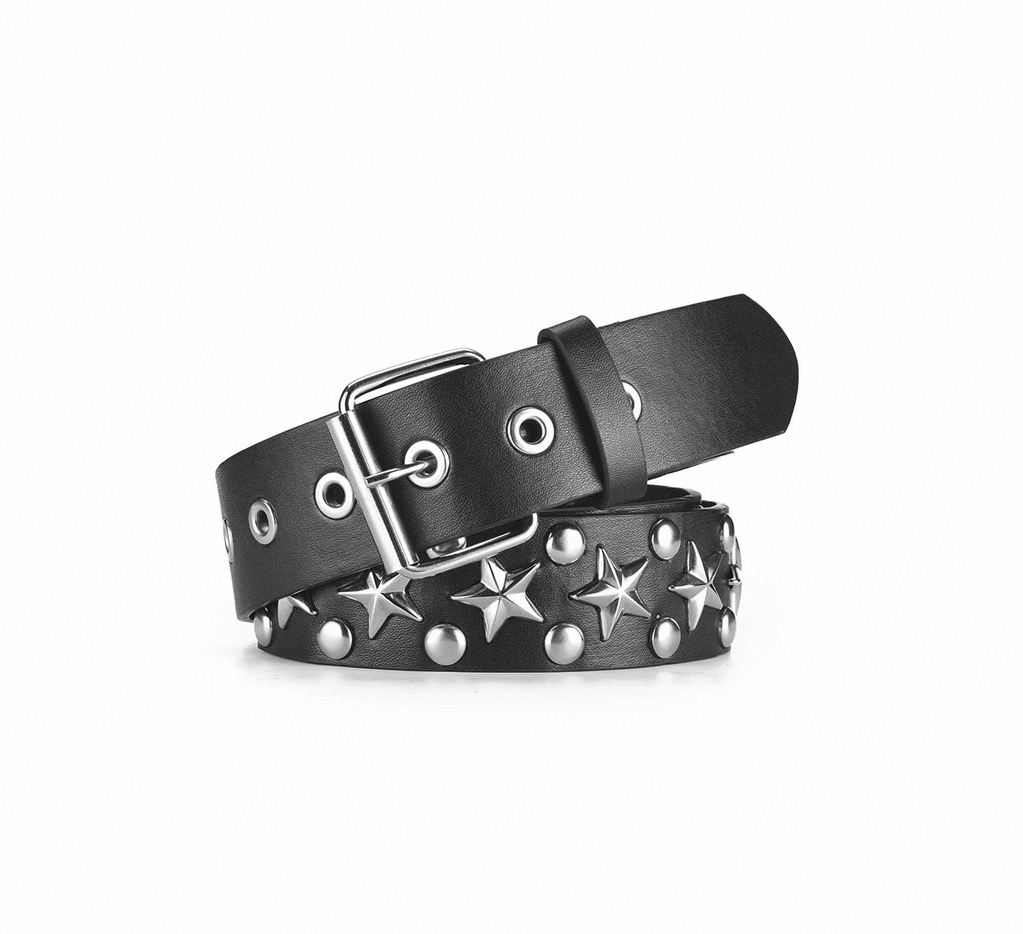
Step 4: Choose Your Studs
There are many different types of studded embellishments to choose from, ranging from classic pyramid studs to more unique shapes and colors. You can find studs at craft stores, online retailers, or even repurpose old belts or clothing. Choose the type of studs that matches your personal style and the look you want to achieve.
Step 4: Prepare the Studs
Once you have your studs, you need to prepare them for attaching to your belt. If your studs have prongs, gently bend them back with pliers so they are flat against the back of the stud. This will allow you to glue the studs onto the belt without any poking.
Step 5: Apply Glue to the Belt
Using either epoxy glue or a hot glue gun, apply a small amount of glue to the back of each stud. If using epoxy glue, mix the two parts together according to the package instructions and apply a small amount to the back of each stud. Be sure to work quickly, as epoxy glue dries fast.
Step 6: Attach the Studs to the Belt
Carefully place each stud on the marked areas on your belt, pressing down firmly to ensure that it’s securely attached. Continue this process until all the studs have been attached to the belt.
Step 7: Optional: Add Color
If desired, you can add some color to your studded belt using leather dye or acrylic paint. This can be done before or after adding the studs or spikes. To dye the leather, choose a color and apply the dye evenly with a brush or sponge. Allow the dye to dry completely before adding the studs or spikes. To paint the leather, choose an acrylic paint color and apply it evenly with a brush or sponge. Allow the paint to dry completely before adding the studs or spikes.
Step 8: Trim the Belt
Once all the studs are attached, use scissors to trim the excess length of the belt. Be sure to leave enough room at the end to add a buckle.
Step 9: Add the Buckle
If your belt already has a buckle, skip this step. If not, you can purchase one at a craft store or online retailer. Using a screwdriver or pliers, remove the prongs from the belt buckle and attach the buckle to the end of the belt.
Step 10: Wear Your New Belt
Congratulations, you’ve made your own studded belt! Put it on and show off your personalized style.
Tips and Tricks:
- Be sure to work in a well-ventilated area when using epoxy glue.
- If using a hot glue gun, be sure to let the glue cool for a few seconds before applying the studs to the belt.
- Play around with different patterns and spacing for your studs to create a unique look.
- If you want a more subtle studded belt, choose smaller studs and space them out more.
- If you want a more dramatic studded belt, choose larger studs and place them closer together.
- Don’t be afraid to experiment with different types of studs, such as spikes or rhinestones.
- If you make a mistake, don’t worry! You can easily remove the stud by gently prying it off with pliers and start again.
In conclusion, making your own studded belt is a fun and easy DIY project that allows you to express your personal style. With a little creativity and some basic supplies, you can create a unique and edgy accessory that’s perfect for any outfit. So grab your belt and studs and get to studding!